Haloumi and Sweet Potato Noodle Salad

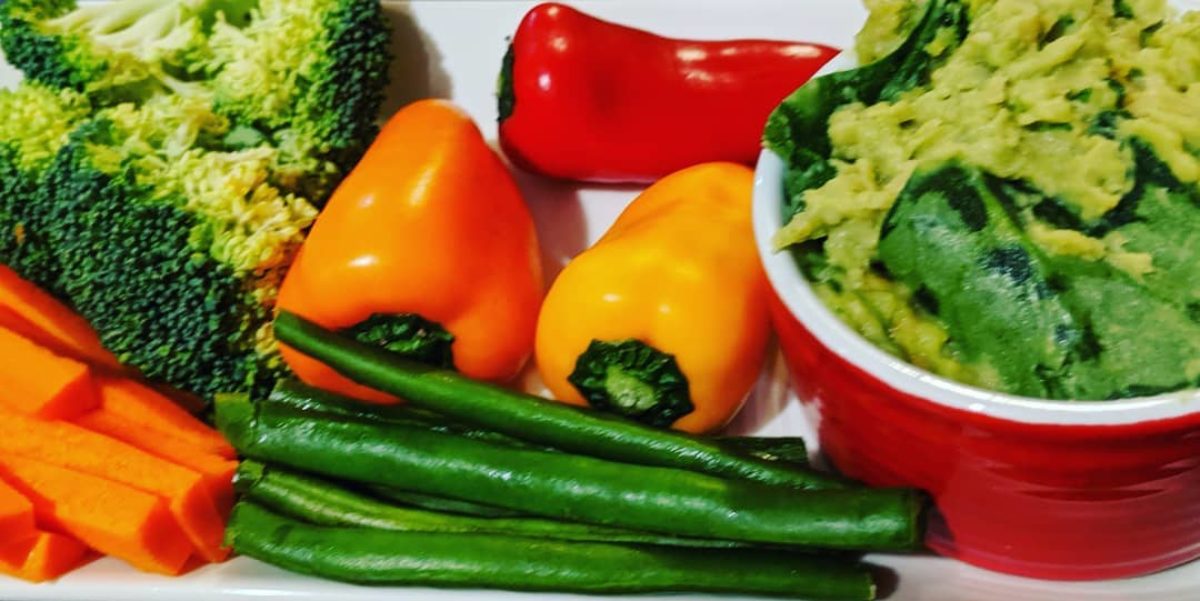
I’ve been on a real vegetable kick lately. Even veggies I hated as a child/teen (zucchini, I’m looking at you!) are being devoured at an alarming rate, and I’m happier than a pig in mud as I hunt down leafy recipes that will keep us all satisfied and healthy. It’s times like this I’m extremely glad that the kids will eat pretty much anything I put in front of them!

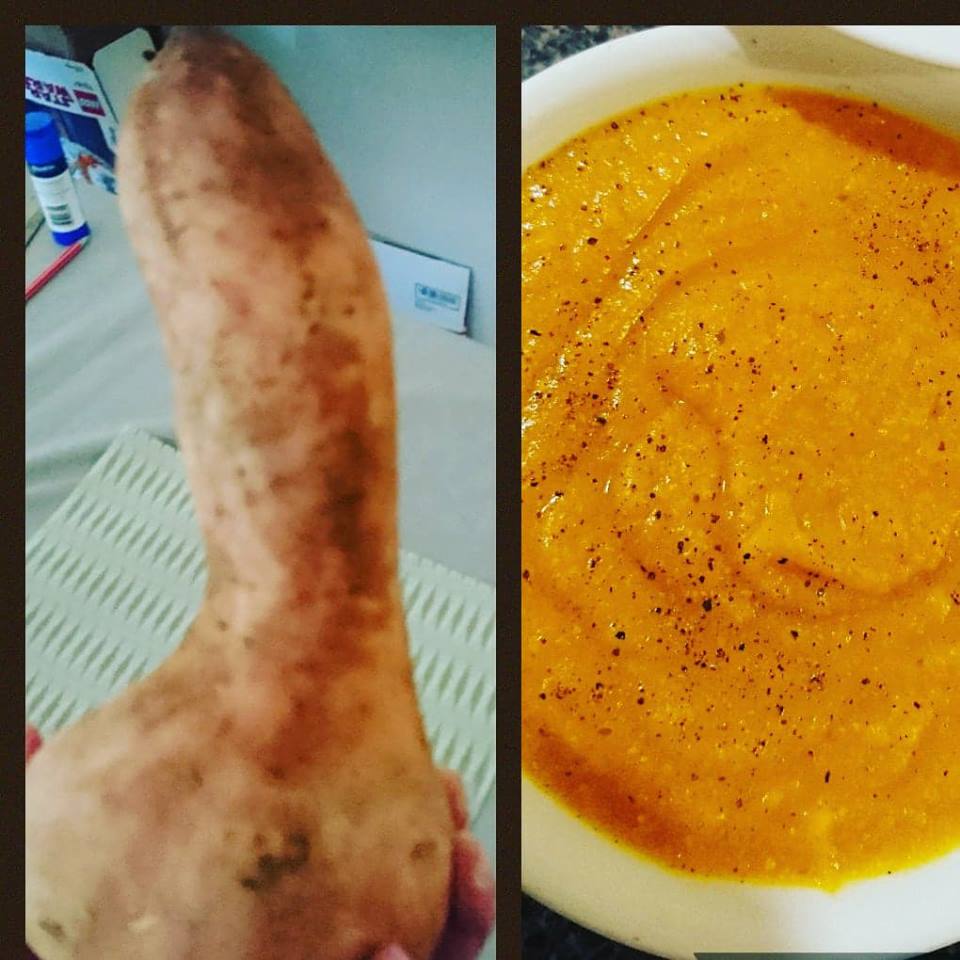
I found this recipe for haloumi and sweet potato noodles weeks ago, and despite the fact that it combines two of my greatest loves – vegetables and cheese – I promptly forgot about it. So when I found it again today while searching my My Fitness Pal recipe database, I knew lunch was sorted! At 266 calories per serve, it makes a great light lunch, with a bread roll or serving of meat not being outside the realm of reasonable additions.

As always, I adapted this to my own liking – I didn’t particularly fancy the idea of sprinkling paprika on the haloumi to “make it taste like bacon”, and I stupidly forgot to buy a lemon. But the result was still spectacular, with bowls licked clean and requests for seconds.

Serves 4 (light meal)

Ingredients

500g sweet potato, spiralised (or store-bought sweet potato noodles)

Spray oil

180g haloumi

1 bunch broccolini, sliced

1tsp minced garlic

1tbs lemon juice

200g cherry tomatoes

Pepper, to serve

Extra lemon juice, to serve.


Method

  1. Preheat oven to 180C. Place tomatoes on a baking tray lined with baking paper sprayed with oil, and roast for 10 minutes.
  2. Meanwhile, steam sweet potato noodles in steamer for 8 minutes, until just tender (or in microwave for 4 minutes – be careful not to overcook this way). Drain.
  3. While tomatoes and potatoes are cooking, heat a little oil in a large fry pan over medium low. Add garlic and lemon, and cook for one minute. Add broccolini and 2 tablespoons water, and cook, stirring, for 5 minutes until tender and starting to char a little. Remove from pan and cover to keep warm.
  4. Cook haloumi for one minute per side, until browned and softened.
  5. Add vegetables back to pan, toss to combine well. Add extra lemon and season generously with pepper.


Facebooktwitterredditpinterestlinkedinmail

Parmesan and vegetable muffins

I’ve posted a veggie muffin recipe before, and to be honest, this one isn’t terribly different. However, they are different enough to know that these are my favourite of the two, and for that reason, I didn’t want to a) lose the recipe I’d adapted from Dr Joanna McMillan, or b) hold out on these awesome cheesy bites of deliciousness.

I’ve been cooking from McMillan’s Get Lean Stay Lean book quite a bit – I really like her no bullshit approach to nutrition. There are no fussy, made up rules… just simple common sense: more plant-based food, lean meats, watch the sugars and saturated fats, and do some exercise. Simple. Just the way I like it. I’ll be posting my adaptations of a few of her recipes in the future – they’ve all been delicious and nutritious.

I cannot ever seem to stick to a recipe – for these muffins, I swapped her suggestion of natural yoghurt for high-protein cottage cheese because I forgot to buy the former, and I’m NEVER without the latter, ditched the oats and lessened the flour and oil. The result was a moist, cheese-flavoured (although not cheesy-textured) muffin that makes for a great pre-workout snack, a mid-morning pick me up, or a light lunch, for only 117 calories per muffin. Also wonderful: they freeze like an absolute dream, so you can stash them in the freezer, grab one before you leave work, and either nuke it for 30 seconds or let it defrost. Too easy!

Ingredients

1 medium carrot, grated

1 medium-large zucchini, grated

40g sundried tomatoes, finely chopped

60 gram grated parmesan cheese

1.5 cups wholemeal flour

2 large eggs

180g cottage cheese

140ml milk

1 tablespoon olive oil

Method
1. Preheat oven to 180C and prepare a muffin tin with paper cases
2.Combine zucchini, carrot, tomatoes and parmesan in a large bowl. Mix well to coat the vegetables – this will stop them clumping.
3.  Whisk cottage cheese, eggs, milk and olive oil until mostly smooth.
4. Make a well in the dry ingredients. Add the cottage cheese mixture and stir just enough to combine – do not overmix.
5. Bake for 20-25 minutes.
6. Remove from oven, allow to cool in tin for 5 minutes. Transfer to cooling rack and eat warm, at room temperature for up to 2 days, or wrap individually and freeze.


Facebooktwitterredditpinterestlinkedinmail

Quick Thick Chicken Mulligatawny

Mulligatawny – it’s super fun to say, super fun to cook, and super fun to eat. As a soup fiend, it was only a matter of time before this spicy, sweet, and utterly delicious soup made its way onto my blog, and frankly, I’m surprised it took quite so long.

Like all my favourite meals, this one ticks all the boxes – it’s healthy, tasty, cheap, quick, and everyone in the family will eat it (although I did add more yoghurt to Miss 7’s, as it is a bit spicy). And a bowl of the stuff is only 350 calories, which, considering how very filling it is, isn’t very much at all. It’s really just a winner. Also, is it just me, or does any one else find that the more complex a flavour profile, the more filling it is? Maybe it’s just me!

Serves 5 (generously)

Ingredients

1tsp olive oil

1 tsp minced garlic

1tsp minced ginger

1 large celery stick

1 onion

2tbs curry powder

1tsp ground cinnamon

2tbs tomato paste

5 cups chicken stock

400g skinless chicken thigh fillets

2/3 cups rice

300g pumpkin, diced

2 red apples, cored and cut into 4cm chunks

5 scant tablespoons Icelandic or Greek yoghurt (I much prefer Icelandic)

4tsp mango chutney

Method

  1. Heat oil over low heat in a large, deep saucepan or stockpot. Add garlic, ginger, onion and celery, and cook for 5 minutes, or until softened and very lightly coloured.
  2. Add cinnamon, curry and tomato paste, and stir for 30 seconds.
  3. Add stock, cover, and bring to the boil.
  4. Lower heat to simmer. Add thigh fillets and poach (still covered) for 5 minutes.
  5. Remove chicken and add rice, pumpkin and apple. Cover, and cook, stirring occasionally, for 10 minutes.
  6. Meanwhile, cube or use two forks to shred chicken.
  7. Add chicken back to the soup, and simmer for 5-10 minutes, until chicken and rice are both fully cooked.
  8. Ladle mulligatawny into bowls. Top with yoghurt and chutney to serve.


Facebooktwitterredditpinterestlinkedinmail

Mushroom and Bacon Barley Risotto

This is a big call, but barley is my new favourite food. While I’m sure I did, I don’t really remember eating it as a child… in fact, I was well into my twenties before I even recognised it as anything other than one of the ingredients my dad put into this weird, green soup he used to make that nobody in the family was ever game enough to try. However, since the day I first bought it for a non-green, non sludge-looking soup, I’ve been an evangelical convert. I just adore the chewy nuttiness that adds so much texture and body to all manners of dishes. I almost peed myself with excitement when I realised you could make a risotto out of it!

Now, this dish might not really scream “diet food”at first glance, but really, it’s the best kind. It looks, feels and tastes like comfort food, it’s delicious, it’s nutritious, and it’s incredibly filling. The original recipe (from Taste) indicates that it serves 4, but it easily served 6, and that was still a very generous portion… you definitely can make a meal of it, and for only 250 calories a serve (6 serves), I’d recommend doing just that! It also makes a fine side dish.

A little word to the wise: give yourself a little extra time to cook the barley, because it can depend on so many factors: your pan, your stove, the alignment of the planets and stars – it’s the luck of the draw, really. Just keep testing it until the barley is cooked, adding a quarter cup of water (it won’t water the flavour down, there’s plenty to spare!) as necessary.

serves 4-6

Ingredients

1tsp olive oil

1 leek (white part), halved lengthways and thinly sliced

1 tsp minced garlic

1tsp minced ginger

200g diced bacon

250g mushrooms, sliced

1 3/4 cups pearl barley

4 cups chicken stock

2 tbs grated parmesan cheese

1/4 cup fresh parsley

Method

  1. Heat oil over medium-low heat in a cast iron pot or other heavy based saucepan. Add leek, ginger and garlic. Stir for 1 minute or until leek has softened but not coloured.
  2. Increase heat to medium-high. Add bacon and mushrooms. Cook, stirring, for 3 to 4 minutes until bacon is coloured and mushrooms are softened and oozing their liquid.
  3. Stir in barley and add stock. Cover and bring to the boil.
  4. Stir, then reduce heat to low. Simmer, covered, for 30 minutes. Stir occasionally. Barley will be tender, but not completely cooked.
  5. Remove lid. Simmer for 15 minutes or until barley is tender and liquid has absorbed. If the barley starts to stick to the bottom, or is dry but not cooked through, add water and stir. This can be repeated as necessary.
  6.  Remove from heat. Serve with parmesan and parsley.
Facebooktwitterredditpinterestlinkedinmail

Boozy Banana Bread

Alliteration is fun. You know what else is fun? Sneaky booze. And with this boozy banana bread, now we can have both!

Banana bread cops a lot of flack, and for good cause: it’s full of sugar, carbs and fat, and for some reason, we insist on calling it a bread when it is so bloody obviously a cake, which – equally inexplicably – makes it seem healthier than it really is. As such, until today, I hadn’t had a slice of banana bread in eleven months (sob), so that may account for some of the joy I experienced in eating this. However, a number of others have validated my stance that this banana bread, based on a recipe by  Smitten Kitchen  is the best banana bread I’ve ever made – and trust me, I’ve made a few!

While it will never pass as a health food, as far as banana breads go, a small slice of this isn’t too bad. The recipe yields 12 small slices at just 202 calories apiece, which makes for a perfect afternoon treat. I like to make it into 3 smaller loaves using an old mini-loaf pan that I’m pretty sure I accidentally stole from my mum when I moved out of home – I have no recollection of buying it, I don’t recall my mother ever using it when I was living at home, and it’s looked a little banged up ever since I discovered it one day in my kitchen cupboard, but I really love this thing.

Suspicious pan of mysterious origin to the rescue…

Besides, smaller loaves mean even more of the deliciously caramelised crust that makes a banana bread so delectably addictive! However, it also translates into a mighty fine regular loaf – you just need to add another 20-30 minutes to the baking time.

Experience shows that swirling a tablespoon of Nutella through the batter after pouring it into the pan/s doesn’t go astray. But if you’re watching your calories/sugar intake, rest assured that it is just as awesome without it.

Serves 12

Ingredients

3 overripe bananas
75 grams salted butter, cubed
3/4 brown sugar
1 teaspoon vanilla                                                                                                                                                                                      1 egg
1-2 tablespoons Jack Daniels American Honey (any whiskey or bourbon will do, but this is perfect for the job!)
Pinch of salt
1 teaspoon cinnamon                                                                                                                                                                            1/2 teaspoon nutmeg
1/4 tsp ground cloves
1 1/2 cups self-raising flour

Method

  1. Preheat the oven to 180°C.
  2. Mash bananas and butter in a large mixing bowl by hand or electric beaters, or in the bowl of a stand mixer using the paddle whip (which is how I do it).
  3. Add the sugar and beat on medium for one minute.
  4. Mix in egg, vanilla, whiskey, salt and spices.
  5. Gently mix in the flour until combined.
  6. Pour into a greased loaf pan. If using mini loaf pans, bake for 30 minutes. For a large loaf, bake for 50 minutes to one hour, or until a tester comes out clean.
  7. Cool for 10 minutes while still in loaf pan. Remove from pan, cool further on a rack, and serve.
Facebooktwitterredditpinterestlinkedinmail

Sri Lankan Curry

Many little things still shock me since losing the weight, and the most significant one to date is just how  much I feel the cold lately! Intellectually, I understand that fat keeps the body warm; I just didn’t realise how much insulation I used to carry around! I’ve been complaining about the cold all week, so yesterday morning, when I told the husband that I wanted to go to the Richmond Good Food Market (Richmond being renowned as a particularly chilly part of Sydney at 8am on a Winter morning), he side-eyed me, and, undoubtedly braced himself for a few hours of me complaining about how I couldn’t feel my hands.

However, he needn’t have bothered. I mean, it was cold, but I had enough to occupy me at the little stalls to keep me from whingeing (too much). From spice rubs to jams and pickles, to gourmet bagels to chilli honey (I may never eat honey any other way again), to delectable coffee blends, I sniffed and nibbled my way down the market in a flurry of little wooden spoons and taster cups.

As is so often the way with these things, the stall that stood out the most was one I didn’t intend on visiting. A lone Sri Lankan cuisine stall stood in the middle, smelling like heaven, but hardly seeming like where I would be sourcing my breakfast. However, I got to talking to the very friendly and engaging Sheila from Six Spicy Spoons, and she offered Master 10 and I a taste of her delightful homemade curries and chutney. We were instantly hooked. Pan rolls and samosas for breakfast, it was! I also wasn’t leaving without purchasing a tub of her curry paste and date chutney. Dinner for tonight was sorted.

Sheila was also lovely enough to provide me with some recipes so that I could get started – an absolute necessity, as I’d never cooked Sri Lankan before. Of course, I changed it up a bit, so I cannot speak for the absolute authenticity of my adaptations, but it was declared 5 stars by the same daughter of mine who was determined not to actually enjoy it, and an absolute winner by my husband, son, and self.

I followed the recipe in terms of how much curry paste to use, as I didn’t want to blow anybody’s head off, and next time, I’ll probably up the ante a little. However, it was pleasingly warming – the spices where there and they were bold, and even though I made it 5 hours ago, the house still has the most delectable aroma about it. I had places to be between making the curry and eating it, and when I came home, walking into the house was walking into comfort personified. Thankfully, I’d forgotten to separate the kilo of chicken I bought last week before freezing it, so I made a double portion. I’m looking forward to eating this for lunch for the next couple of days (I’m a total leftovers fiend), because these flavours will definitely improve with age! At 420 calories a serve, it’s a heavier lunch, but sometimes, it’s just worth it.

Serves 8

Ingredients

3tsp olive oil                                                            

1kg chicken breast fillets, cubed

300g cauliflower, cut into small florets

3 celery sticks, diced

2 carrots, diced

1/2 cup frozen peas

500g potato, cubed (or, omit and serve with brown rice)

75g curry paste

1.5 cup chicken stock

1tsp conflour


Method

  1. Heat half the oil in a large, deep frypan. Add vegetables and cook, stirring, for 5 minutes until softened. Remove from pan and set aside in a large bowl.
  2. Heat remaining oil and brown chicken. Add vegetables back to pan and stir to combine.
  3. Combine stock and curry paste in a jug.  Pour into chicken and vegetables. Bring to boil, cover, and reduce heat to low. Simmer for 20 minutes.
  4. Remove lid, and sprinkle cornflour into the curry. Stir well, increase heat to medium, and cook, stirring for a further 5-10 minutes, until thickened.
  5. Serve with naan, or over steamed brown rice.
Facebooktwitterredditpinterestlinkedinmail

Vegetable, Feta and Sun-Dried Tomato Muffins

Savoury muffins are a bit of a crapshoot, I’ve come to realise. They’re either really good, or really… not. I need my savoury muffins the same as I need my sweet muffins: moist, flavourful, and with a good crumb. I don’t want dry, hard cakes with a bit of zucchini shoved in there. I want my muffin to be worth it!

The best thing about these muffins in that they tick all the boxes above, and are still relatively healthy. They come in at 130 calories per muffin, and within them lay an abundance of goodness. They’re pretty filling – they certainly meet the 3pm munchies head on, and could no doubt make for a damn fine light lunch, especially if you were to split them open and spread them with cottage cheese (and especially if, like me, you have a slight addiction to the stuff). They freeze amazingly well, and are incredibly easy to make, so for just 15 minutes of your Sunday, you can have a freezer of hunger-busters to get you through the work week.

Actually, they’re so easy, that I didn’t really make them at all – these are largely the work of my little apprentice, Miss 7. Obviously, I oversaw operation and did the lion’s share of the chopping, but like most  muffins, you add your wet ingredients to your dry ingredients, mix a little (but not too much!), stick them in the oven, and go about your merry way. Just the way cooking should be – maximum results for minimal heartache. And, just as they’re easy as can be, they’re incredibly forgiving and versatile – you can swap and change veggies, cheeses and flours to your heart’s content! However, I love them exactly the way they are presented here.

Serves 12

Ingredients

1 cup wholemeal self raising flour

60g butter, chopped

1 medium-large zucchini, grated

40g baby spinach, chopped

100g feta, crumbled

30g grated cheddar

80g sun-dried tomato, coarsely chopped

1 egg

125g milk

Method

  1. Preheat oven to 180, and line a 12-hole muffin pan with paper cases.
  2. Place flour and butter in a bowl. Use your fingertips to combine until mixture resembles coarse breadcrumbs.
  3. Add zucchini, cheeses, spinach and sun-dried tomatoes to the flour. Stir.
  4. Combine milk and egg, and lightly beat. Pour into mixture and stir gently until just combined. Do not overmix, or your muffins will become tough.
  5. Spoon mixture evenly into paper cases. Bake for 25 minutes, or until a skewer comes out clean. Cool on a wire rack.


Facebooktwitterredditpinterestlinkedinmail

Vegetable Coconut Curry

  It’s meal prep Monday!

I’ve always asserted that any luck (ha! I wish it was luck!) I’ve had with weightloss and this journey can be attributed to the fact that I plan meticulously. I plan what I’m going to eat and when I’m going to eat it, how it fits into the rest of the day in terms of both calories and nutrition, and how the week will look overall. I’m organised and I’m prepared. Funnily enough, being this meticulous allows for some unexpected flexibility and splurging without messing anything up, which is probably why I like it so much.

If it sounds boring, it’s because it probably is. But it works! And after 10 months of this, it really doesn’t take up a lot of time or mental energy anymore. It’s second nature now, and I’m grateful for that. It means that a) I’ve been successful in changing my lifestyle for the better, and b) it’s completely sustainable. Fortunately, being prepared and drinking the meal-prep Kool-Aid works really well with my love for cooking. Work lunches are now a great opportunity to find new recipes that might not appeal to the rest of my family for dinner, and to up my veggie intake. Don’t get me wrong – there are plenty of weeks where I survive the work day on salad and salmon, or brown rice and tuna for days on end, but when I do have my act together, I much prefer something a little more exciting. 

Like this vegetable curry. It’s quick to make, spicy and warming, healthy, delicious, cheap, and freezes beautifully. It’s the stuff meal prep dreams are made of!  It’s the perfect way to use up those sad looking vegetables populating the bottom of your crisper, and gives you something to look forward to on boring mornings. At only 200 calories per serve, there’s plenty of opportunity to carb it up with roti, brown rice or freshly made bread (or sliced, I won’t judge), but you can definitely get away without any extras, too.

Serves 5

Ingredients

1 large onion, chopped roughly

3tsp minced garlic

2 tsp minced ginger

3tsp sambal oelek

1tsp garam marsala

2tsp ground cumin

1/2 tbs olive oil

2 tomatoes, chopped

1/2 cup light coconut milk

1/2 cup chicken or vegetable stock

400g can chickpeas, drained

300g pumpkin

1/2 head cauliflower, cut into florets

200g baby green beans

1 small birds eye chilli, thinly sliced (optional)


 Method 

  1. Place onion, garlic, ginger, sambal oelek and spices into a food processor, and process into a paste.
  2.  Heat oil over medium heat, and add paste. Cook, stirring, for one minute, until highly fragrant.
  3.  Add tomatoes and cook, stirring, for 1 minute until softened.
  4. Add stock and coconut milk, and stir to combine. Simmer for 30 seconds, and add chickpeas, caulifl
    ower and pumpkin. Stir to coat, cover, and simmer for 15 minutes. Add beans and cover for a further 5 minutes.
  5. Serve topped with chilli.
Facebooktwitterredditpinterestlinkedinmail

Choc-Orange Bliss Balls

I’ve always avoided bliss balls for 2 reasons:

1. They just seemed like calorie bombs – for all that people swore they were healthy (mostly because I couldn’t see myself being able to stop at one).

2. The term bliss balls makes me giggle because I am an immature 12 year old.

But now that I have magically gained some willpower, at least the first problem is solved. As for the second problem, well, I’m beyond help. At least I can be immature with some bliss balls, now.  And with chia seeds, almonds, dates and orange and just enough dark chocolate to feel like a treat, they’re both nutritious and absolutely delicious!

Honestly, I barely even adapted this recipe. It’s pretty much straight from Taste.com.au. But, as this blog is to show case the recipes I used to lose weight and maintain a healthy lifestyle (as opposed to showcasing recipes I’ve developed myself… I’m not a chef!), I don’t actually feel bad about this.

One thing I did change was the size of the balls. Rather than yielding 18 balls, I shape mine to yield 28. They’re perfectly bit sized this way, and less crumbly. The smaller balls are 103 calories, and the larger size are 137. Either way, they’re pretty guilt free. A little calorically dense for what they are, perhaps, but full of goodness and filling enough as a morning tea or 3pm pick me up.

Yields 28

Ingredients

2tbs Macro black and white chia seeds

1/4 cup fresh orange juice (juice from one small orange)

85g almonds

2tsp orange rind

200g dates

1/2 cup desiccated coconut

2tbs cocoa powder

150g Lindt 70% dark chocolate

Method

  1. Line two baking trays with non stick baking paper.
  2. Combine chia seeds and orange juice, and soak for 10 minutes.
  3. Process the almonds in a food processor until coarsely ground. Move to a mixing bowl, clean processor and use to coarsely chop dates. Add all ingredients except the chocolate and process until combined.
  4. With damp hands, press level teaspoons of the mixture into balls and place onto prepared trays. Refrigerated for 15 minutes.
  5. Break chocolate into pieces and place in a dry, clean bowl. Microwave at 15 second intervals, stirring with a dry metal spoon until chocolate is melted and smooth.
  6. Place one ball in the chocolate, and use a spoon to roll until evenly coated. (Do not be tempted to use a fork to dip the ball into the chocolate, as it will fall apart. Trust me.). Return to lined pan and place in the fridge for 5 minutes.
  7. Store in an airtight container. Room temperature is fine, but they do freeze very well, too.
Facebooktwitterredditpinterestlinkedinmail

Sweet Potato and Chickpea Soup


Because maturity is overrated.

I am a big fan of menu planning. I plan my shopping list on a way-too-complicated-for-what-it-is Google Sheets doc that is shared with hubby, and update it as necessary throughout the week, then follow it like it’s the Bible as I weave through the shopping aisles. If it’s not on the list, it isn’t very likely to get in the trolley. However, despite the fact that I didn’t even need a sweet potato when I went grocery shopping over the weekend, I essentially possess the sense of humour of a 12 year old boy, and I simply wasn’t leaving the store without the glorious specimen in the photo.

So of course, then I had to consider what I should do with it.

When in doubt, I always turn to soup. It’s cheap, delicious, healthy and easy. And only 201 calories per serve. All the good things. Soup is my favourite part if Winter, hands down.

After hubby and I giggled sufficiently at this glorious vegetable, I got to work. And hey, the husband and I have been married long enough that chopping it felt strangely cathartic.

Serves 6
Ingredients

400g can chickpeas, drained

2-3 second spray oil

1 medium brown onion

2 cloves garlic

2tsp minced ginger

1tsp dried coriander

2tsp ground cumin

1/2 tsp chilli flakes

800g sweet potato

300g carrots

6 cups chicken stock


Method

  1. Heat oil in a large saucepan over low heat. Add onion and garlic and cook, stirring occasionally, for 5 minutes, or until sweating and softening.
  2. Stir in coriander, cumin and chilli powder, and cook, stirring, for 1 minuted until fragrant.
  3. Add vegetables and cook, stirring often, for 5 minutes.
  4. Add stock and bring to the boil. Reduce heat and simmer for 20 minutes, or until vegetables are very soft.
  5. Add chickpeas and cover saucepan. Simmer for 10 minutes or until they have softened.
  6. Remove from heat and lend soup until smooth. You could also leave pebbly traces of chickpeas if you’d prefer.  Season with plenty of black pepper.


Facebooktwitterredditpinterestlinkedinmail