Craisin & White Choc Oatmeal Cookies

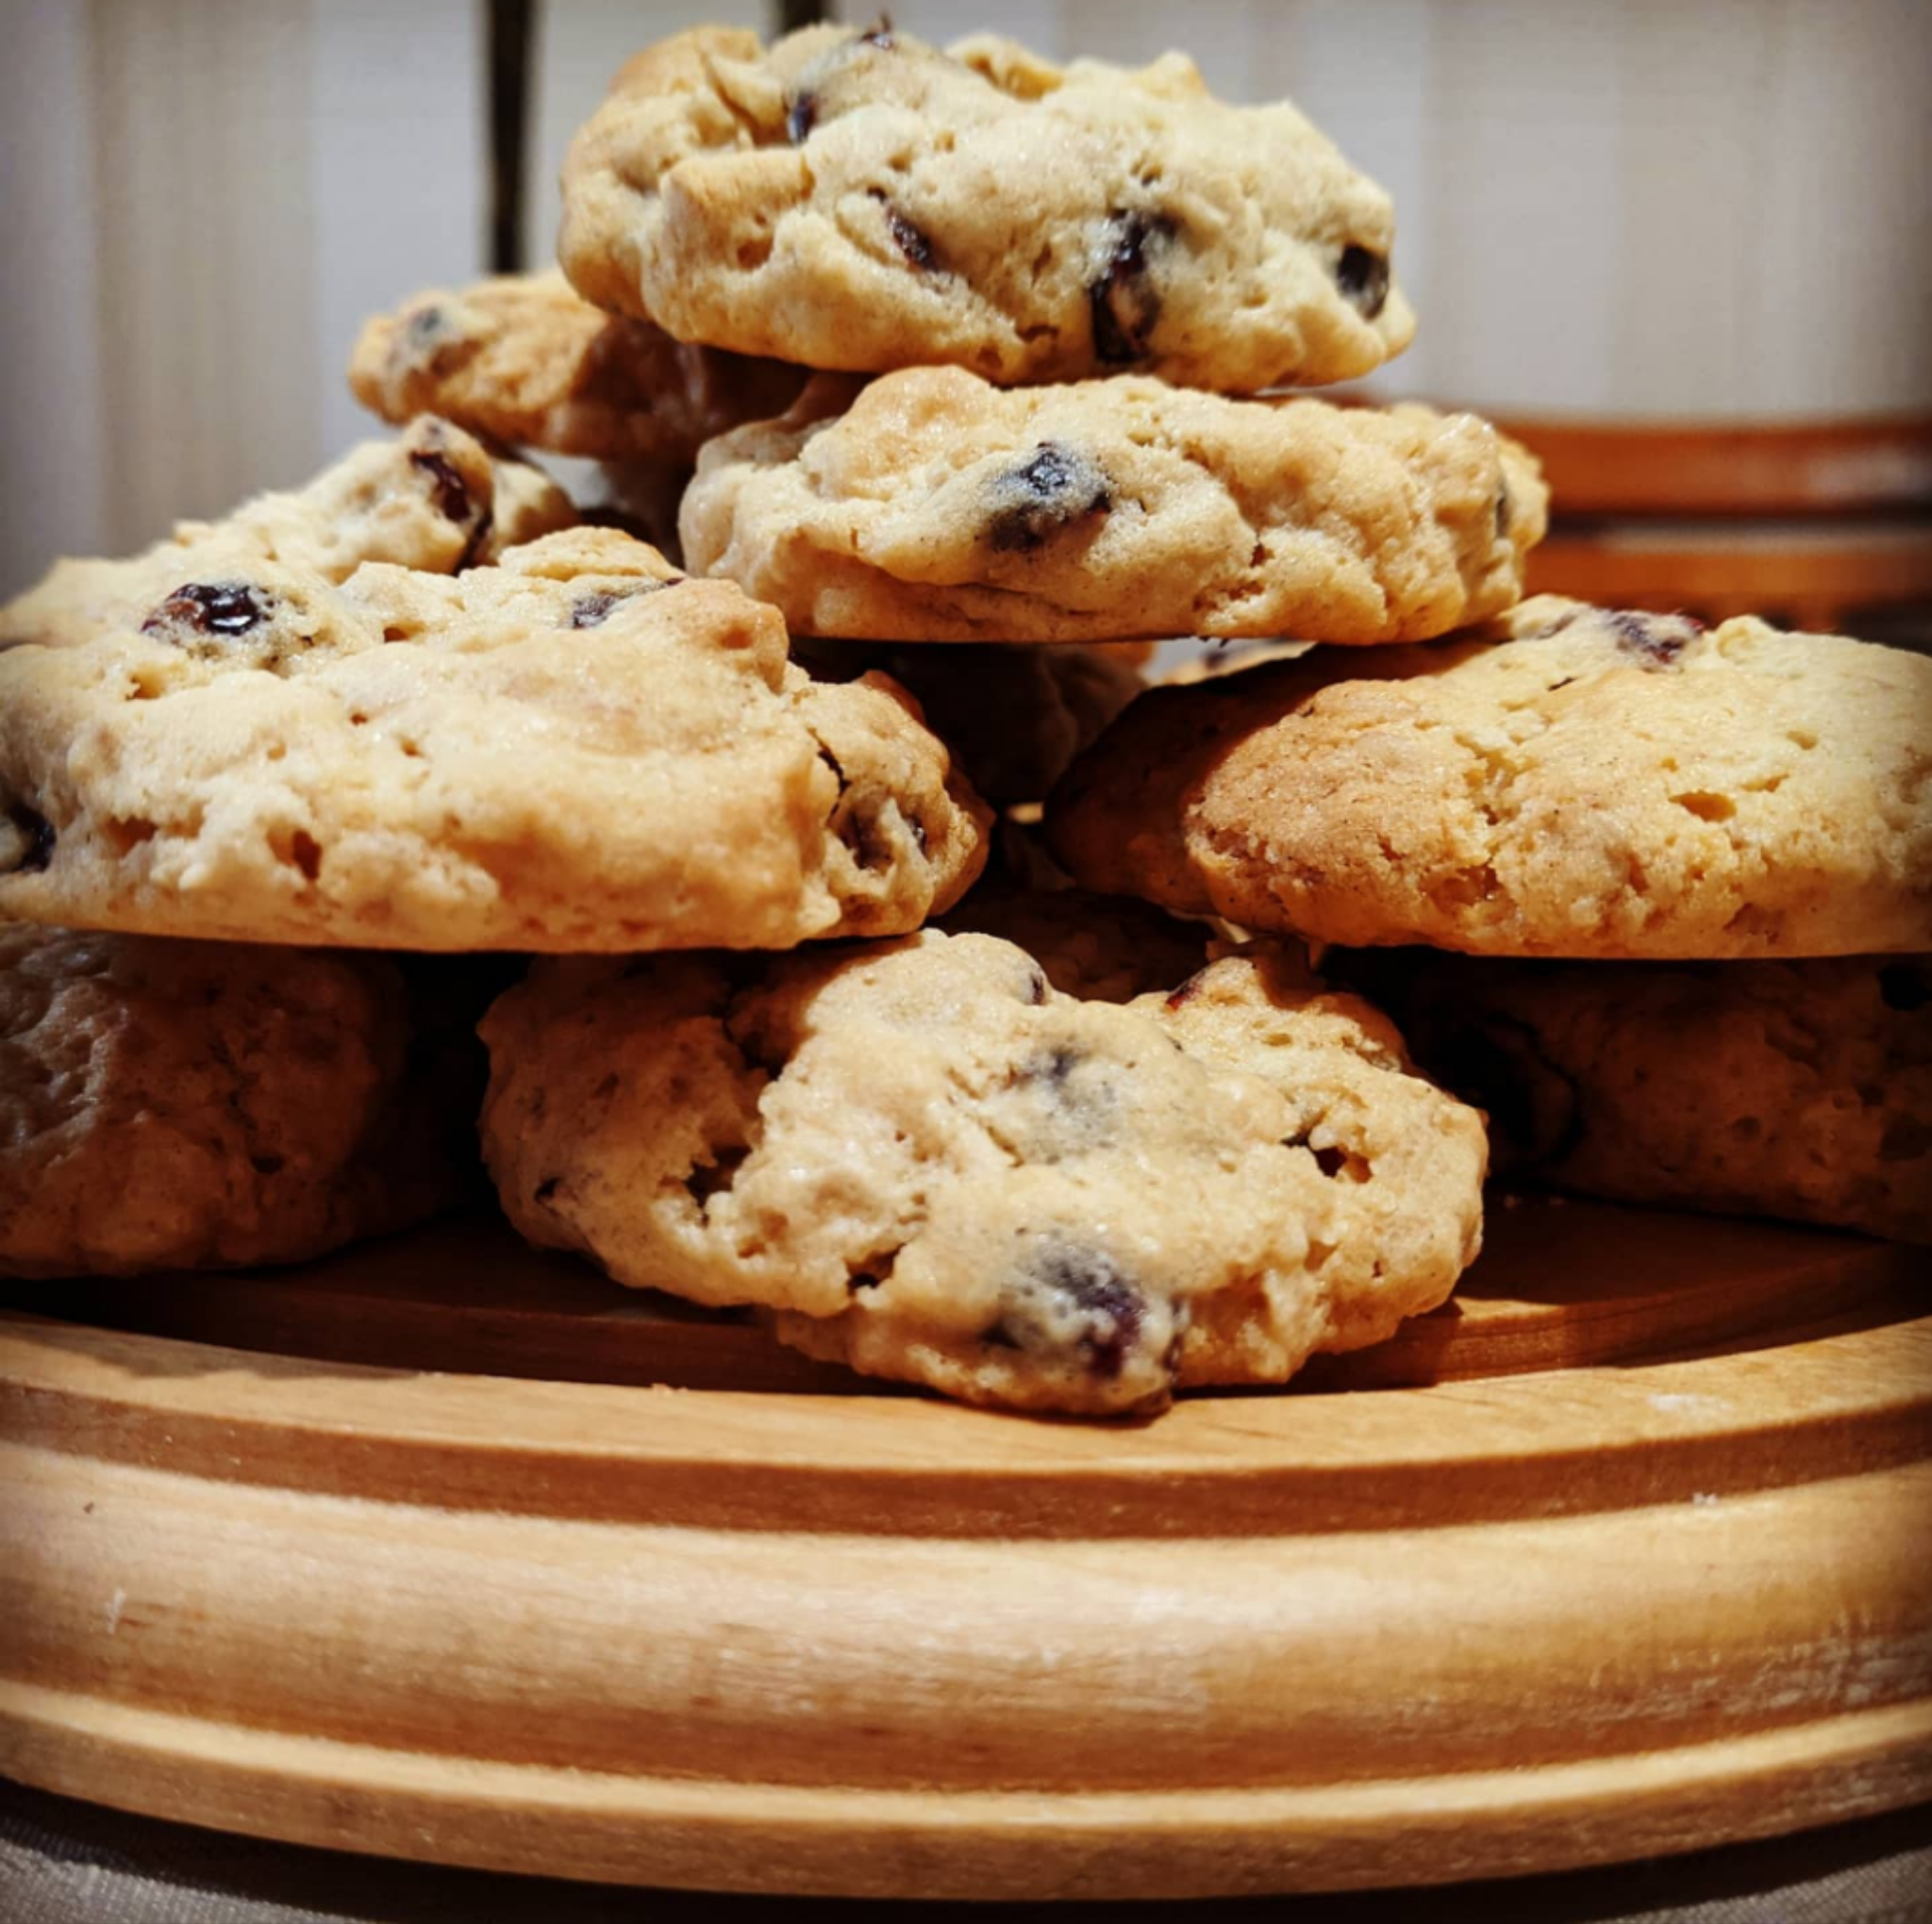
I’ve had an urge to bake cookies this week – I think it’s the cold, rainy weather – far more than I’ve actually had an urge to eat cookies. Surely I’m not the only person that craves the cook more than the result sometimes? However, the result of this urge wasn’t exactly a hardship: chewy, soft cookies that are tart and just sweet enough. Better yet, the result was just that little bit different to a standard chocolate chip cookie (not that I would ever badmouth such a classic!), without being as indulgent as my Reeces snickerdoodles or blackforest cookies (neither of which have made it to my blog, but surely I won’t hold on you forever!), and therefore the perfect compromise.

At 130 calories per cookie, these are pretty standard in terms of your chocolate chip biscuit, which was reassuring, because some cookies hit double this without much increase in size or flavour, and really, you want your treats to be worth it. To me, I haven’t met a cookie worth nearly 300 calories, but I find 130 calories is easy to build into a reasonable day. And really, we’re all entitled to a little treat now and then. The more time I spend in this healthier lifestyle, the less I worry about numbers. It’s a liberating feeling, but I still like knowing what I’m eating, so I keep tabs on caloric values, even if I no longer count them like I used to.

Yield: 24 cookies

Ingredients

1/2 cup butter, softened

1/2 cup brown sugar

1/4 cup white sugar

1 egg

1tsp vanilla extract

1 cup rolled oats

1 cup self raising flour

pinch of salt

3/4 cup craisins

1/2 cup white chocolate chips

Method

  1. Preheat oven to 175C and line 3 baking trays with baking paper.
  2. Beat sugars and butter for 5 minutes, until pale and creamy. Add egg and vanilla, and beat to incorporate.
  3. In a separate bowl, combine remaining ingredients. Add to butter mixture a little at a time, mixing until completely combined.
  4. Roll tablespoonfuls into balls and place 8 on each tray, leaving a few centimetres for slight spreading.
  5. Bake for 15 minutes until firm and golden. Cool on tray for a few minutes, then move to a cooling rack.

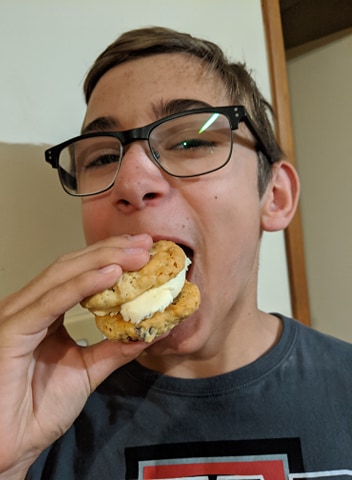
NB from Master 12, Miss 9 and The Husband: apparently, they make a fantastic ice cream sandwich.

NB from Mac the dog:


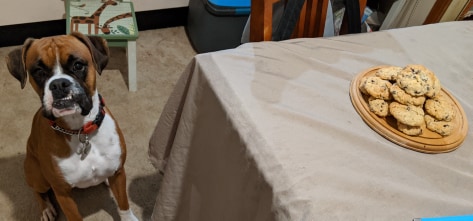
“I am the goodest boy and didn’t eat the cookies, even though Mama left us together unsupervised. She should reward me. With cookies.”

Facebooktwitterredditpinterestlinkedinmail

Toblerone Brownies

Let’s just get this out of the way – these are NOT for calorie counting days. At over 300 calories a pop, these delicious morsels are the embodiment of a ‘sometimes treat’.

With that being said, there are three different types of chocolate in here, and one of them is Toblerone. They’re rich, dense, and sweet – a small square is really all you need. On the other hand, there are three different types of chocolate in here, and one of them is Toblerone. They’re amazing. And they have the perfect crumb: they’re not especially fudgey, nor are they merely a chocolate cake with a superiority complex. They’re the perfect brownie, and my go-to recipe whenever the occasion calls for something sweet.


I adapted this recipe from the Taste.com, and after much experimenting, settled on this incarnation. The original recipe has a butterscotch-esque icing, but I found that with such a rich brownie, while the icing was delicious, it was seriously overkill. Conversely, without the icing, using all dark chocolate made them too intense (and I say that as a girl who loves her chocolate dark and bitter). But by using an even mix of dark and milk chocolate, we’re left with a well balanced slab of heaven. Words of advice:

a) splurge on good quality chocolate, you truly can taste the difference.

b) Freeze the Toblerone – it makes it SO MUCH EASIER to work with

Ingredients

250g butter, chopped

100g dark chocolate, broken into largeish pieces

100g milk chocolate, broken into largeish pieces

3/4 cup caster sugar

3 eggs

1 1/4 cups plain flour

2 tablespoons self-raising flour

200g Toblerone chocolate, frozen

Method

  1. Preheat oven to 180C. Line base and sides of an 18cm x 28cm slice pan with baking paper, extending paper 2cm above edges of pan. Spray with oil, or grease using butter (I always do the former).
  2. Place butter, dark chocolate, milk chocolate and sugar in a saucepan over low heat. Cook, stirring occasionally until melted and smooth. Remove from heat and rest for 10 minutes to cool slightly.
  3. Crack eggs, 1 at a time, into chocolate, whisking until combined. Sift in both flours, and fold to combine.
  4. Pour mixture into prepared pan. Tumble in the Toblerone pieces and very slightly press into the mixture.
  5. Bake for 25 to 30 minutes . Cool for 1 hour before lifting from pan (lest it fall apart).

Facebooktwitterredditpinterestlinkedinmail

Crème Pâtissière

If watching shows like Masterchef has taught me anything, it’s that a) you can’t cook without a lame sob story, and b) crème pâtissière is technical and difficult.

Both of these assertions are bull. I knew the former was a load of tripe cooked up by desperate television producers, but for some reason, fell hook, line and sinker for the latter. I’ve always just avoided it, made desserts that don’t call for it. I really don’t cook decadent desserts all that regularly, and there are a slew of other options, so I’ve been able to keep my fear of the Crème pât my little secret for years.

This week, my son turned 11, and the little foodie wanted creme brûlée donuts as his birthday cake. Unwilling to disappoint my first born, and after finding a recipe from Sugar Hero that looked better than the rest, I set out to make his donuts.

The first batch – so good!

I’m still perfecting them, to be honest. The test batch were perfection. They were moist and fluffy, stuffed with silky, delicious creme patissiere, coated in a vanilla glaze, and set alight for a crunchy lid that cracked so satisfyingly, I almost yearned for a cigarette. I dutifully set one aside for my loving husband, and took the rest to my dad’s, where we shared them with some very grateful neighbourhood kids. When I got home, the dog had eaten the husband’s. Hubby was less than amused, but Mac seemed very pleased with his ill-gotten treat.

The second batch failed, epically. Burned on the outside, and raw in the middle. Like, so raw, it looked like I’d already filled them with the custard. Of course, this failed batch was the one that actually counted because I made them on his birthday, which happened to fall on a public holiday, so my emergency back up options were extremely limited. Thankfully, Krispy Kreme was open, and the boy was hardly disappointed in being taken there to go nuts. He was thrilled with this contingency, but I was still so, so disappointed. I think I know what I did wrong, and will try again. But, honestly, I’ll probably keep playing around with donut recipes, while keeping the Sugar Hero one handy, because it really was very good.

What I won’t be looking for, however, is another Crème pâtissière recipe. Sugar Hero NAILED it. It was thick, silky, sweet but not tooth-achingly so, vanilla-y and the right level of eggy. It can also be made ahead of time, which is what I had done with the second batch of donuts. I now had a serving of the custard, and no donuts to squirt them into. As it was Easter weekend, and I had another party to attend the next day, I whipped up a Birthday Custard Sponge from Nigella Lawson, and sandwiched it with the Crème pât. It. Was. Heaven.

This particular recipes yields a fair amount of crème pâtissière, but I truly don’t see that being a problem – it’s very versatile. And delicious by itself. If you find you have any left over from whatever you use it for, a spoon is all you’ll need to rectify that little problem. I’m also looking forward to making a traditional crème brûlée with it.

I’m not even bothering to look up the calories for this one. It’s too variable – how much of it you eat really depends on what you do with it. Chances are, though, if you’re having a crème pât kind of dessert, you don’t really want to know, anyway.

Ingredients

4 yolks

1 whole egg

3 tbsp cornstarch

1/2 cup granulated sugar

2 cups milk

pinch salt

2 tsp vanilla bean paste or 1 tbsp vanilla extract

2 tbsp butter

Method

  1. In a bowl, whisk together the yolks, egg, cornstarch, and 1/4 cup of the sugar, until thick.
  2. In a saucepan, combine the milk, remaining sugar, and salt. Heat the milk over a medium burner until it just starts to boil. Check consistently – if it burns or scalds, you’ll need to start again.
  3. Whisk the egg mixture, slowly drizzling a little hot milk into the bowl as you do. Continue to whisk and drizzle until you’ve added about half of the milk. Keeping the saucepan off the heat, pour the eggs into the milk mixture while whisking continuously.
  4. Return the saucepan to the stove over medium-low heat, whisking constantly. Use a rubber spatula to periodically scrape the bottom of the pan so it doesn’t scorch . Cook until the pastry cream thickens and starts a very gently bubbling, then cook for 1-2 minutes longer. Remove the pan from the heat and whisk in the vanilla bean paste or extract, and butter.
  5. Pour the cream through a wire mesh strainer into a bowl. Use a spatula to help work it through, straining out any clumps of egg that have developed. Press a layer of cling wrap directly on top of the pastry cream to prevent a skin, and let it cool to room temperature. Once at room temperature, refrigerate it until it’s cold, at least 2 hours. This will last 2 days in the fridge.

Facebooktwitterredditpinterestlinkedinmail

Mocha Macarons (Mocharons?)

I’ve long had a love-hate relationship with macarons since the Zumbo craze a few years back- they’re delicious, of course, but they’re also expensive and just a tad pretentious for what they are. And I was convinced that they’d be hard to make, even though I do know my way around meringue and baking in general. I wrote them off as something I’d never bother to make years ago.

For my later, I received a gift certificate from my mother in law to the Paris International Cooking School (sadly, in Sydney, not Paris, but it was still an awesome gift!), and walked out of there a few weeks later with a bunch of recipes, a full belly, and, inexplicably, a bottle of gourmet coffee flavoured syrup I’d purchased on a whim. Predictably, that syrup sat in the dark recesses of my baking cupboard for a month or so, until today, when another impulse purchase took me by surprise – a 2kg bag of almond meal.

You can see where this is going.

With all these ridiculous ingredients, guests on their way, and a healthy fear of what was to come, I had to work out the most fool-proof option for making these macarons. Thank goodness for Elaine and her recipe at The Spruce Eats,

as not only did she provide a really simple and effective base recipe that I could change up a bit, but she also talks the reader off the ledge every step of the way.

All I did differently here was add a teaspoon of cocoa to the macaron mixture, and a dash of coffee syrup to the filling. And it was perfect. Chewy, light, barely sweet, and a breeze to cook for only 110 calories a pop (if you make 12). I did, however, find that I had to keep them in the oven longer, but ovens are notoriously fickle, so I took that with a big old grain of salt.

Ingredients

3/4 cup icing sugar

3/4 cup almond meal

2  egg whites

Small pinch maldon salt flakes

1/4 cup caster sugar

1tsp cocoa

Filling:

2/3 cup butter, softened

2/3 cup icing sugar

2tsp coffee syrup

Method

Preheat the oven to 140 C. Line two baking trays with baking paper, and draw 12 circles on each of them, using a shot glass as a stencil.

Sieve the icing sugar and ground almonds into a large mixing bowl, ensuring there are no lumps – I like to whisk the end result, just to be sure.

In a separate clean bowl (I used my stand mixer here), whisk the egg whites and salt until they form soft peaks. Add the caster sugar little by little, whisking until the whites are glossy and stiff peaks form.

Gently fold in the almond mixture. Don’t worry that the meringue loses air, this is normal.

Fill a piping bag with the mixture. Don’t use the star nozzle like I did at first – you want a round, flat base here. Pipe the mixture onto the rounds, filling in the circle.

Gently bang the baking trays on the bench to release any air pockets. Leave on bench to dry out for 20 minutes.

Bake the macarons for 15 minutes, opening the door halfway through to allow any steam (and hence moisture) to escape. Remove from the oven, and allow to sit in their trays until cool. They might seem a little underdone, but will firm upon cooling.

To make the filling, cream the butter and gradually beat in the icing sugar. Add flavouring and beat a little more. Spread 1/2 tsp of filling onto the flat side of one macaron, sandwich with another, and gently twist to cement them together. Repeat with remaining cookies.


 Facebooktwitterredditpinterestlinkedinmail

Strawberry Cheesecake Muffins

While I do take a healthy diet and lifestyle very, very seriously, I’ve long said that the secret to my success is that I haven’t cut anything out, I’ve just cut it down.  Sugar, fat, carbs, white food, alcohol, bagels, cake – you name it, I’ve almost certainly eaten it since starting  my fitness journey nearly 18 months ago. It’s all about balance, and making sensible choices in terms of portion size and what else you eat that day. Conscious, mindful eating. That’s my boring trick.

Today, I was expecting anywhere between 1 and 12 people in my house today, with no idea what time anyone would be over. I wanted something delicious, fun to make, and flexible to cook/store, that my kids and I could bake in the middle of a heatwave. These muffins were just the ticket. Part muffin, part cheesecake, and 100% delicious, we had as much fun making them as we did eating them. And when only 2 people ended up dropping by, I simply froze the extra (non-frosted) cakes, so we now have emergency cake. PLEASE tell me I’m not the only person who feels far more comfortable in life knowing that there is emergency cake stashed in the freezer!

This recipe is very closely adpated from Taste.com.au, however, by making 20 smaller muffins instead of 12 jumbos, I cut the calories to a much more palatable 297 calories, proving once again that you can have your cake and eat it too!  They’re pretty sweet – I don’t think I could have eaten a jumbo muffin anyway – these the perfect treat size. For me, any way.It’d make a perfectly respectable whole cake, too, provided you used a rather large tin – with four eggs in there, the rise is considerable. I’d hazard a guess that the cream is pretty optional in the icing, and will skip it next time (and there will be a next time!), although it wasn’t ruining anything by being there.

Makes 20

Ingredients

muffins:

125g butter

1.5 cups caster sugar

250g cream cheese

1tsp vanilla

4 eggs

250g strawberries, diced

cheesecake frosting

150g cream cheese

1/2 cup thickened cream

3/4 icing sugar (the original recipe calls for 1/3, but I found it was too runny and tasted far too much of cream)

1/2 tsp vanilla

10 strawberries, hulled and halved


Method

  1. Preheat oven to 180°C and line muffin tins with patty pans.
  2. Beat cream cheese and butter until combined. Add sugar and beat until pale and creamy.
  3. Add eggs one at a time, and beat after each egg until fully incorporated.
  4. Add vanilla and mix.
  5. Add flour and gently combine. Fold through strawberries.
  6. Spoon mixture into cases until 2/3 full. Bake for 20 minutes.
  7. When cooked, remove pans from oven and allow cakes to cool for 10 minutes in the pans. Transfer to rack to cool completely.
  8. While muffins are baking,  combine all icing ingredients and beat thoroughly until thick and fully incorporated. Rest in fridge until ready to use.
  9. When muffins are cool, pipe or spread the icing over the muffin and top with a slice of strawberry. (my kids ate the strawberries on me while I was still using them – any other berry works just as well!)

 Facebooktwitterredditpinterestlinkedinmail