Creamy bacony healthy boscaiola

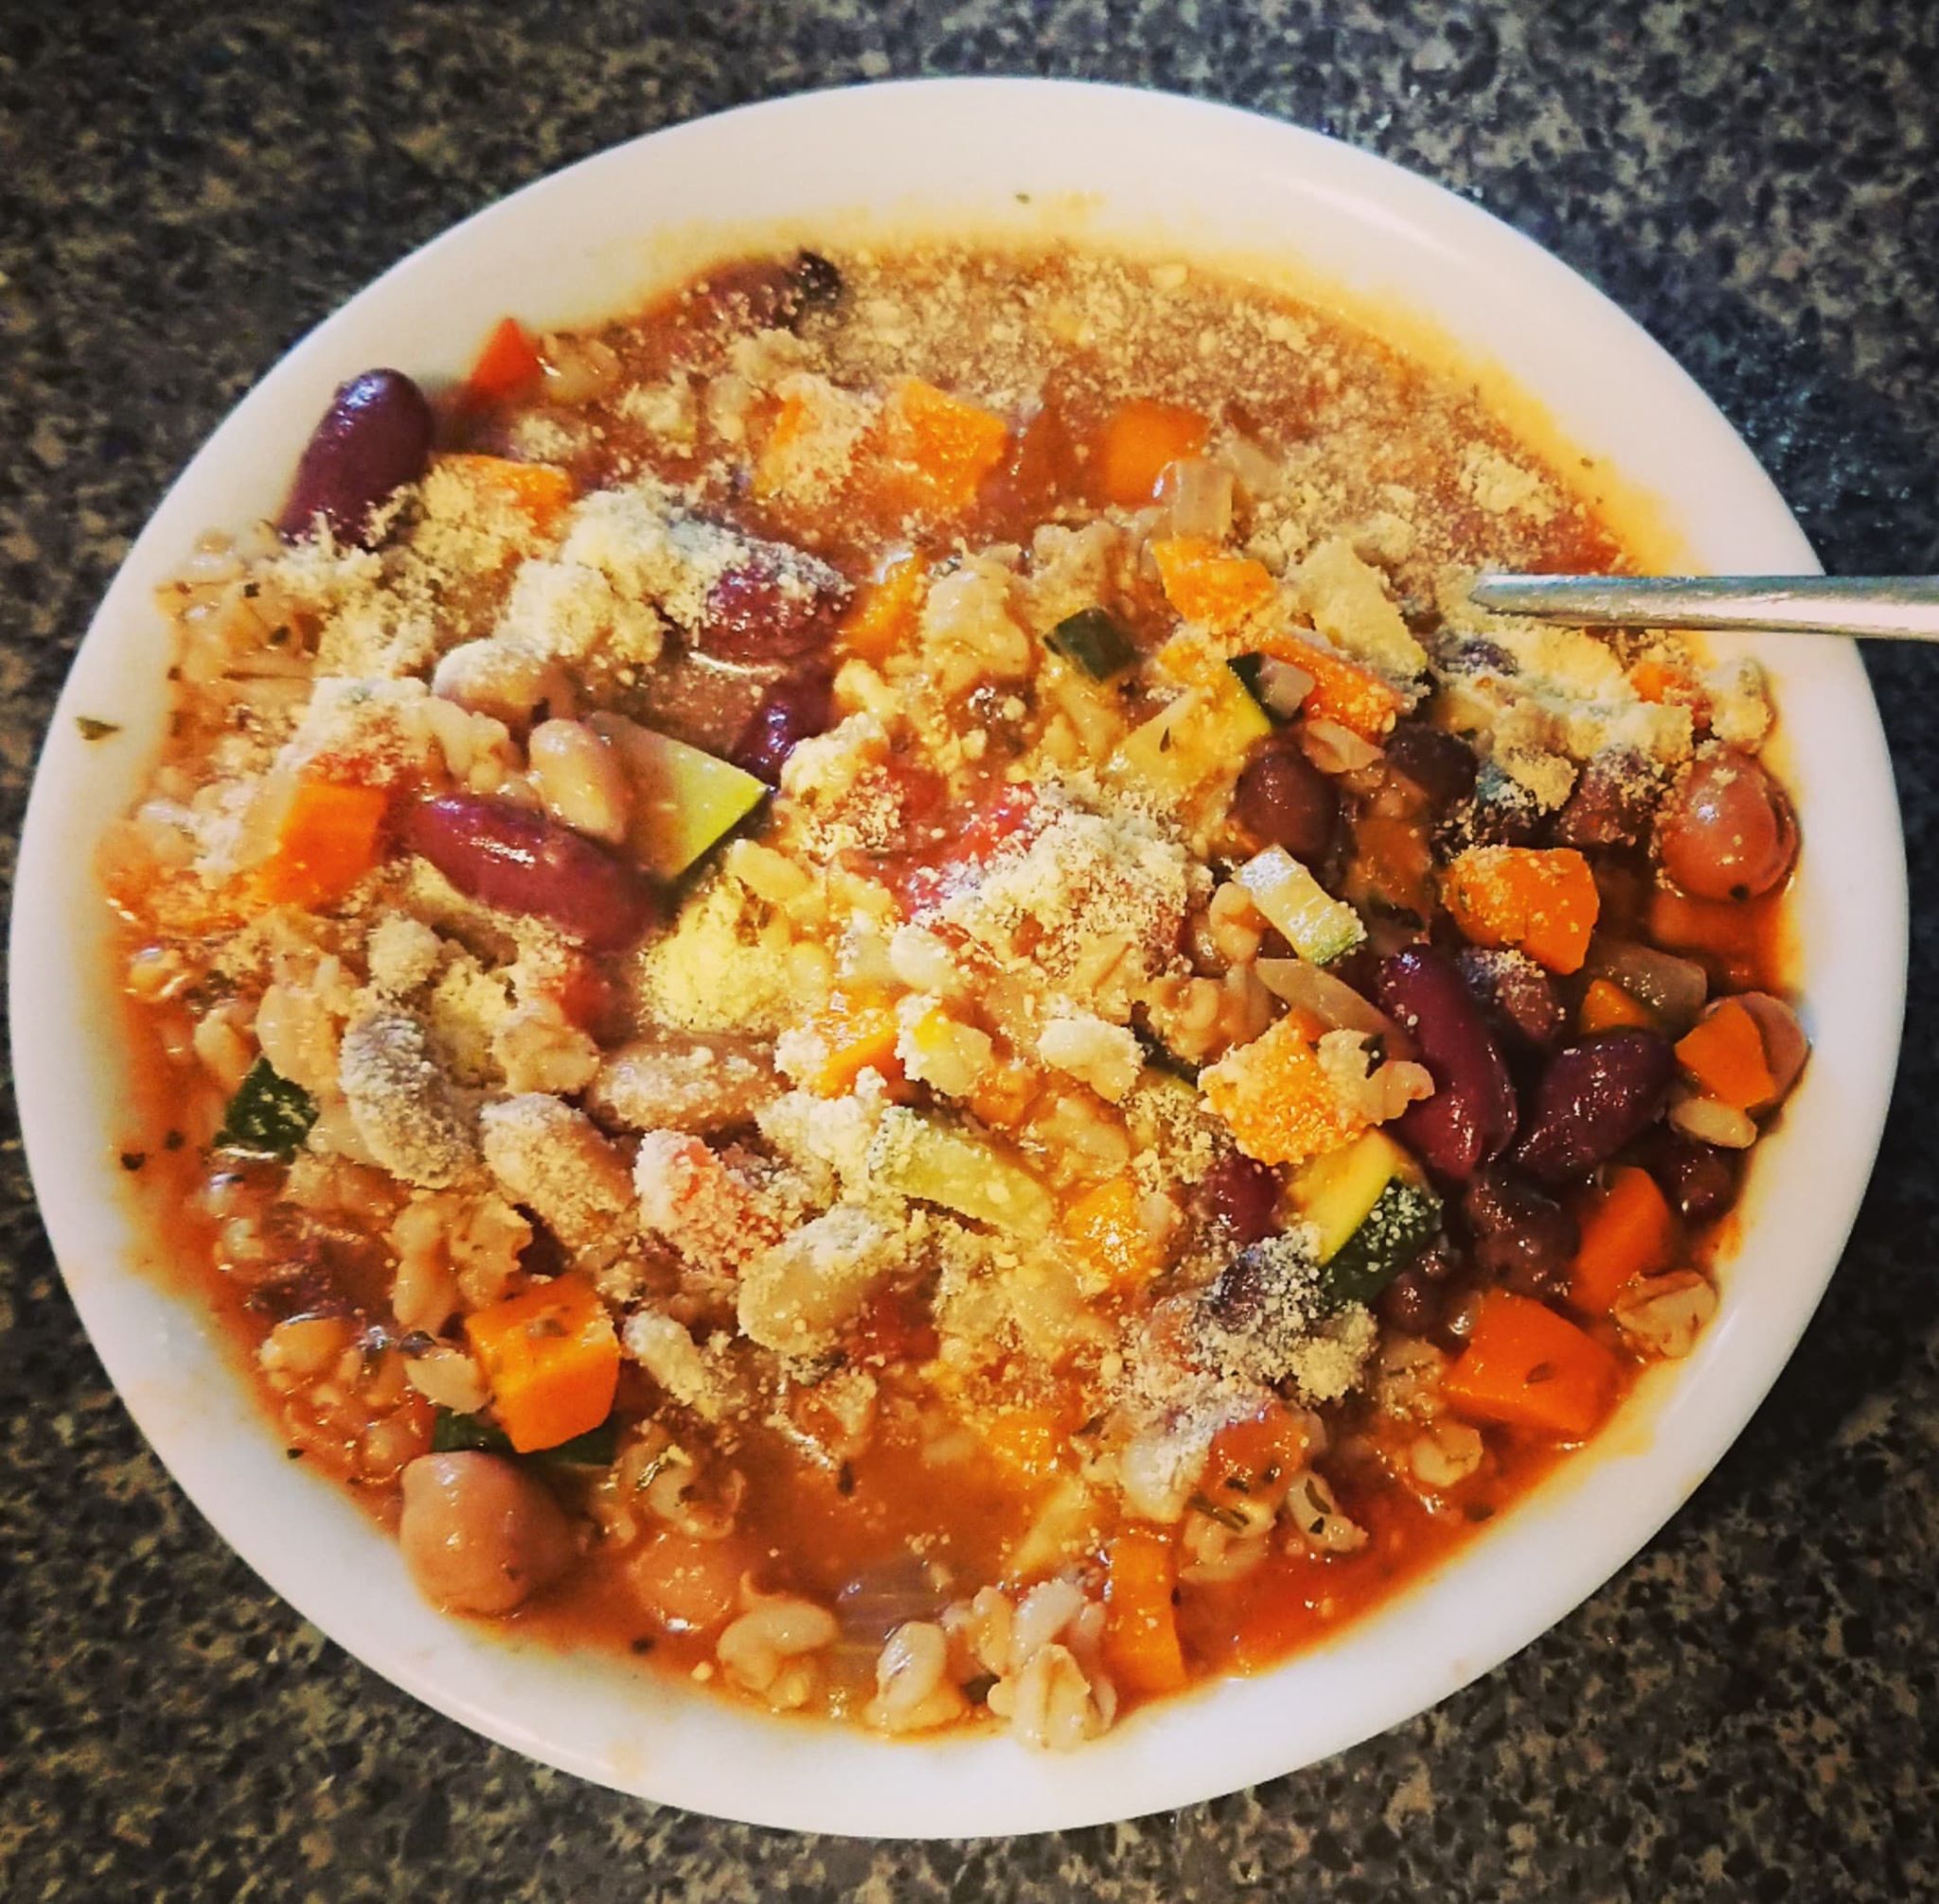
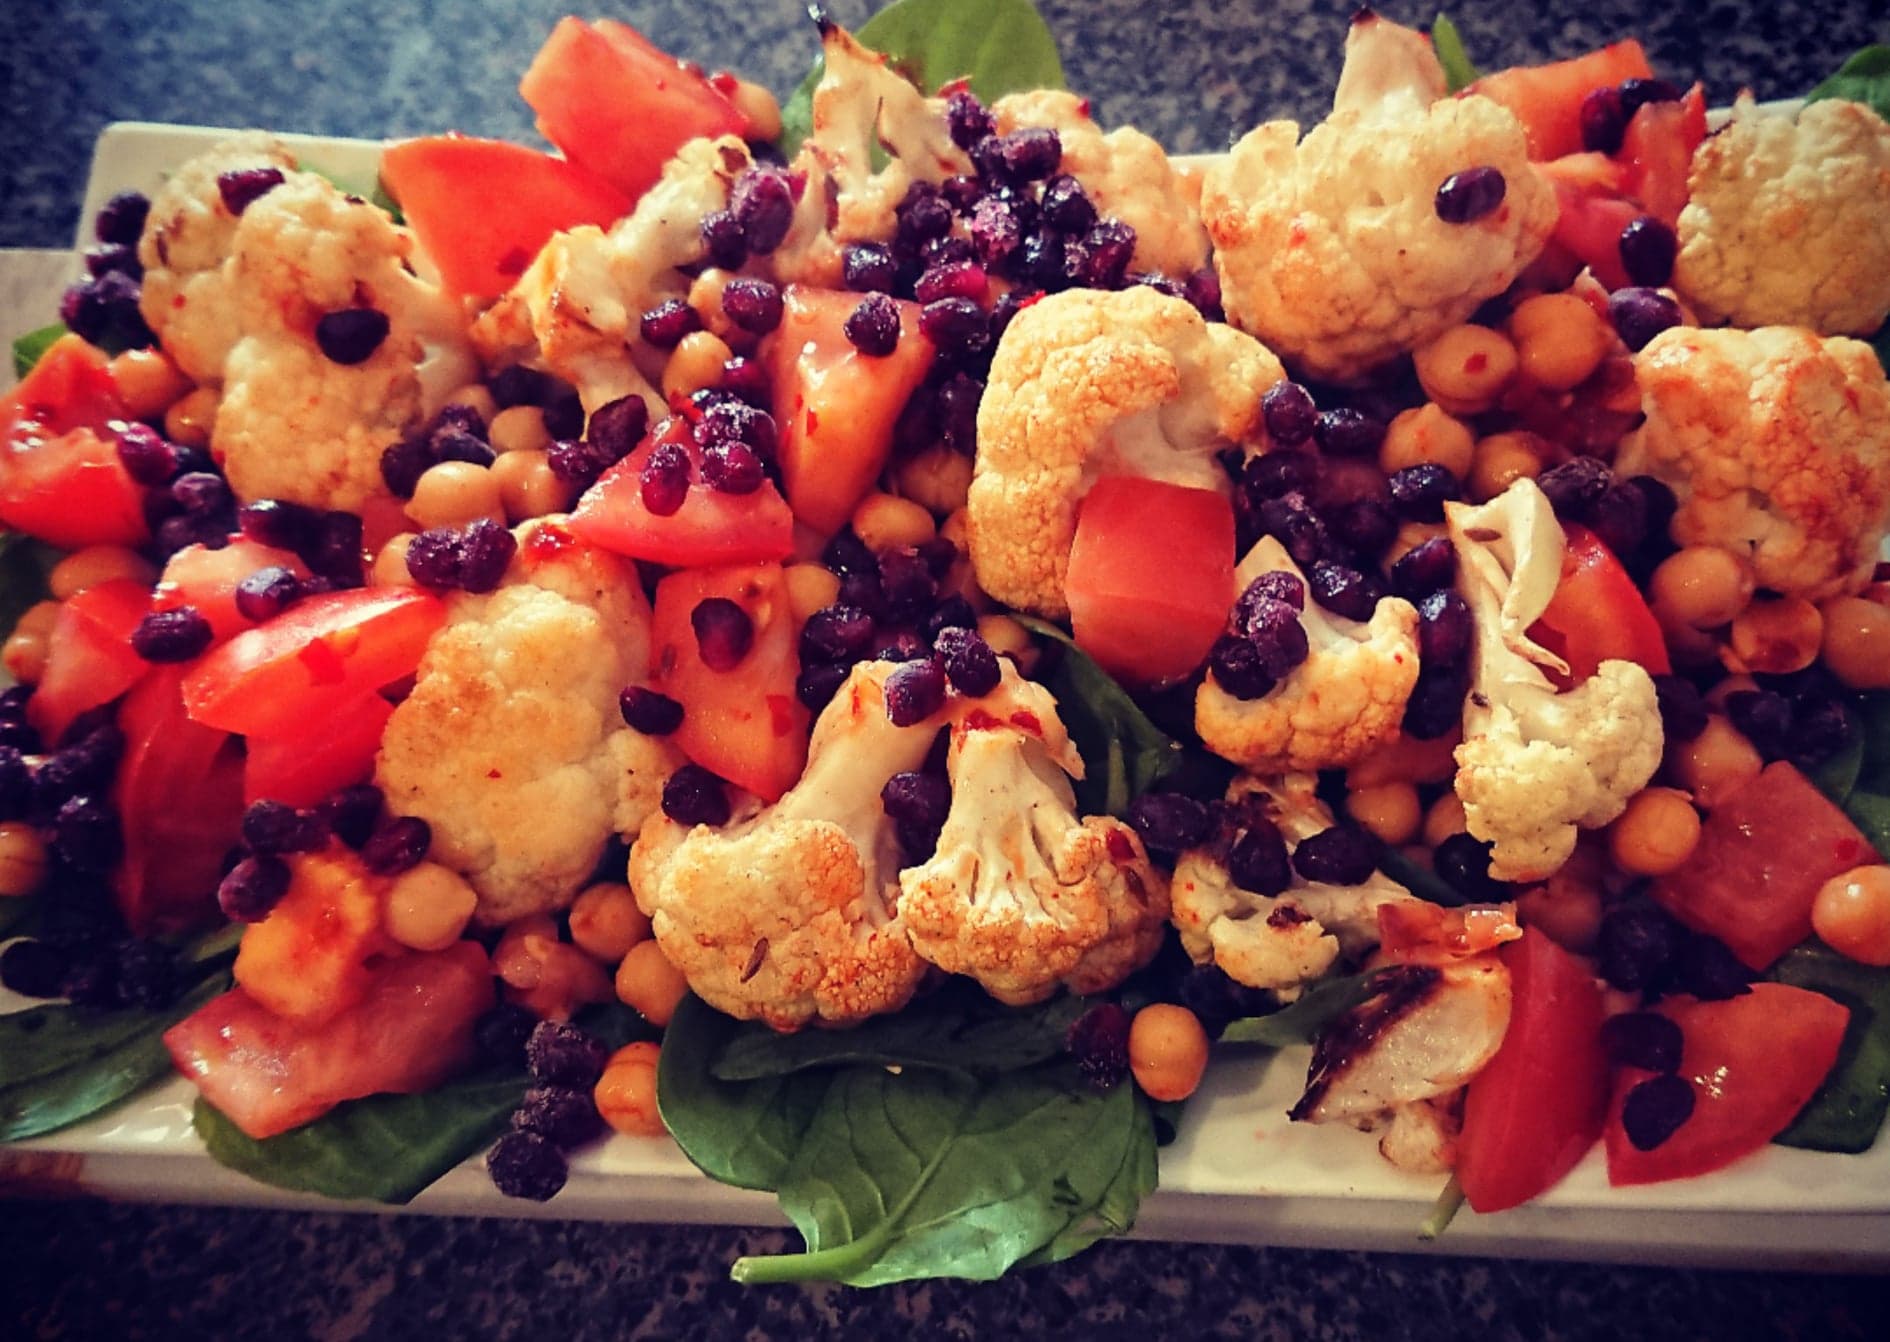
I know I promised I wouldn’t be all about pretending lower fat/carb/what have you is the real deal, and instead celebrate food for what it is, rather than demonising food groups. And that still stands, even with recipes like this, which substitute traditional pasta for gluten free pulse pasta (that it’s GF wasn’t a consideration in choosing the ingredient, just a note that it IS gluten free, but I’m sure the recipe itself isn’t). Furthermore, from day one of my fitness journey, I’ve been adamant that I wouldn’t cut out any foods – no food would be forbidden, although I knew some meals would be on a much lower rotation.

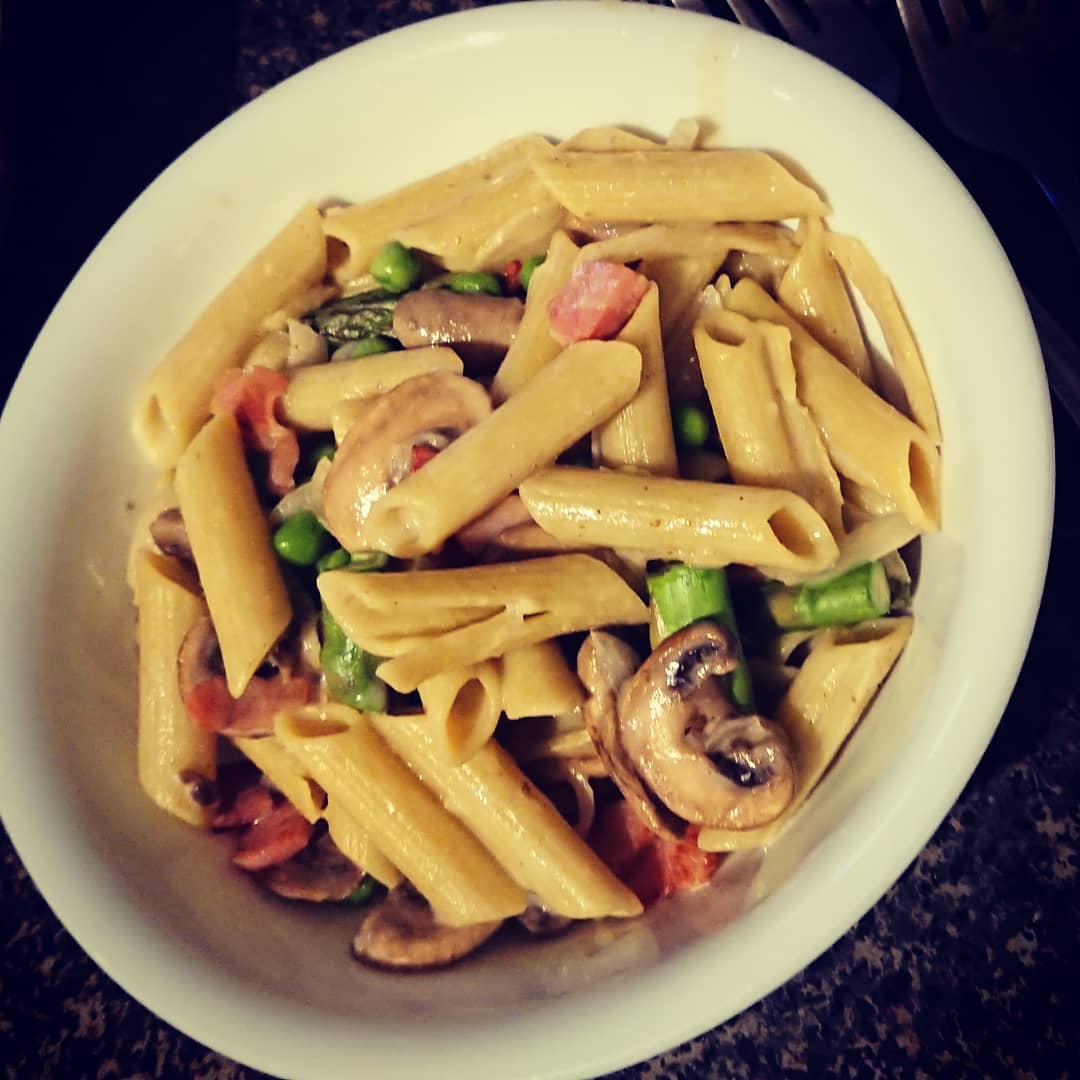
Of course, common sense dictates that creamy, bacony pastas have been severely limited. I haven’t had a boscaiola in what seems like forever, which is especially sad, as it was once my signature dish! However, this “nots-caiola” means that I can have my pasta and eat it, too! At 385 calories for a smallish serve (small but still adequate – it got me through a 1.5 hour roller derby training session with no problems), it’s not exactly low calorie, but by using a pulse pasta made of lentils, borlotti beans, peas and chickpeas instead of the usual wheat pasta, swapping the cream for the lighter Philadelphia cream for cooking and loading it with veggies, what was once a heavy and indulgent meal is now a nutritious and reasonable occasional weeknight dinner that the whole family loves. It doesn’t taste exactly like my old boscaiola, but it is in no way subpar or inferior. It’s just more nutritious and far less caloric. Win, win, win!

Serves 5


Ingredients

250g dry San Remo pulse pasta

½ cup peas

2tsp olive oil

2 tsp minced garlic

125g shortcut bacon, diced

2 tsp minced garlic

250g mushrooms

1 brown onion, thinly sliced

1 bunch asparagus, trimmed and cut into fifths

½ cup chicken stock

1tbs cornflour

2tsp Worcestershire sauce

¾ tub Philadelphia lighter cream for cooking

Black pepper and grated parmesan cheese, to serve.


Method

  1. Heat oil in large frypan over medium heat. Add bacon and cook for 4 minutes, or until golden and starting to get a little crispy.
  2. Meanwhile, cook pasta to packet instructions – that is, boil for 6-8 minutes. In the final minute of cooking, add peas. Rinse, drain and keep warm.
  3. Stir in mushrooms, onion, and garlic. Cook, stirring occasionally, for 5 minutes. Add asparagus and cook for a further few minutes, until tender.
  4. In a bowl or jug, combine cornflour and stock, whisking until smooth. Add cream and Worcestershire sauce, and stir to combine.
  5. Stir drained pasta into bacon and mushroom mixture. Add cream mixture and stir to combine well. Adjust heat to low and cook for 3 minutes, until sauce thickens and clings to the pasta.
  6. Serve with ground black pepper and parmesan cheese.


Facebooktwitterredditpinterestlinkedinmail

Cauliflower, Chilli and Cheddar Bites

It’s not going to be popular, but I’m going to say it – keto turns me off a little. I know of people who have lost up to 200 pounds (over 100 kilos!!) and kept it off for 3 years by faithfully sticking to keto and intermittent fasting, and I’ll support them all day and all night in that journey. I cheer them on and ask them questions because I’m nosy and like knowing about various options. I’m just not the slightest bit interested in following it myself. From the second I decided that I was going to lose weight, I knew it would have to be a sustainable and balanced diet for me to stick to it. I don’t want restrictions, I don’t want the words “I can’t eat that” to pass my lips, and I REALLY don’t want to banish carbs. Obviously, I needed to restrict calories, there are certain foods I choose not to eat (or at least choose not to eat outside of special occasions), and it’s natural to shave calories by reducing nutritionally-lacking carbs. But, hands off my fruit and veggies, and don’t even think about making me live a bread-free life! I don’t actually eat a lot of bread anymore, but when I do, you can bet it will be good quality, usually wholegrain and freaking delicious… which also makes it completely non-negotiable!

As you can see, my slight aversion to keto isn’t based on a whole lot of research, and I’m not anti-keto, or anything like that. It’s just not really for me – the wild imbalance between macros doesn’t tickle my fancy, nor does a diet of rich, fatty foods. I found what works for me, and happily accept that others can do the same. I’m not a dietitian or nutritionist, and I’m not going to tell you how or what to eat.

I will urge you, however, to try these amazingly spicy, keto-friendly little vegetarian quiche-muffin thingies. I don’t really spend much time scouring keto food blogs or cookbooks, but a recipe for something similar to these fell in my lap from an online friend, and after a few tweaks to suit my preferences and contents of my kitchen cupboards, I whipped these up in no time. I had one at about 5.30pm last night, and then promptly went and had a car accident that kept us in the hospital until midnight (we’re relatively unscathed). Having missed dinner, I was hungry when I got home, but not starving. Not a bad job for a 180 calorie, three bite snack! The recipe makes 12, and they freeze well, so each batch is a great 2-weeks worth of mid-morning work snacks.

Ingredients 

2 cups raw riced cauliflower (approximately 1/2 head)

3  extra large eggs

2 tbsp butter, melted

1 tsp onion powder

1 pinch salt flakes

black pepper, to taste

1/2 tsp garlic powder

1.5 tbs minced chilli

1/3 cup grated parmesan cheese

1/2 cup, shredded cheddar cheese

2tbs almond meal

Method

  1. Preheat oven to 200C. Line a 12-cup muffin pan with paper cases.
  2. To rice cauliflower, pulse in a food processor for approximately 5 seconds, until roughly the size of rice.
  3. In a large bowl, combine cauliflower, eggs, butter and spices well. Add cheeses and almond meal, and fold to combine, being careful not to overmix.
  4. Bake for 25 minutes. Turn off oven, and rest for 15 minutes with the door closed, to continue to firm up.
  5. Remove from oven and cool on a wire rack. Muffins can be served warmed or cold, and freeze/thaw beautifully.


Facebooktwitterredditpinterestlinkedinmail

Bean, Barley and Vegetable Soup

Ugh – still sick. My chest infection  has devolved into a common cold, but it’s been a few weeks now, and I feel like little more than a drippy, droopy mess. But there ain’t no rest for the wicked, so all that’s left is to power on and occasionally whinge on social media.

Last night, I could think of absolutely nothing other than a big bowl of soup that would guarantee a full and immediate restoration of my health. Taste didn’t really matter, as I’ve temporarily lost that particular sense, along with its good friend smell – I wanted comfort and wholesomeness. And with this recipe, I got it in spades.

Bonus: even I could tell it tasted divine, and my family were more than willing to affirm this, even though they’re insanely carnivorous  and this recipe is decidedly not (well, except for the parmesan, but you can get vegetarian varieties if that matters to you). And at 170 calories for a VERY generous serve, it really is just a bowlful of goodness.

Serves 4

Ingredients

2tsp olive oil

1 brown onion, diced

3 medium sized carrots, diced

4 cloves garlic, minced

1/2 cup pearl barley

1.25 litres chicken stock

2 x 400g cans four bean mixed, drained

400g tinned chopped tomatoes

1tsp dried parsley

2tsp dried basil

1tsp dried rosemary

1 large zucchini, diced

4tbs grated parmesan cheese

Method.

  1. Heat oil in a large saucepan over low heat. Add onions, garlic and carrots, and sweat for 10 minutes.
  2. Add  barley and stir to combine well with vegetables.
  3. Add stock, stir, and increase heat to high. Bring to the boil, cover, reduce heat to medium, and simmer for 25 minutes, until barley has started to soften.
  4. Add tomatoes, beans and herbs, and cook for a further 10 minutes.
  5. Tumble in zucchini, and simmer for 5 minutes, until softened but not mushy.
  6. Serve into large bowls. Top with parmesan.
Facebooktwitterredditpinterestlinkedinmail

Mocha Macarons (Mocharons?)

I’ve long had a love-hate relationship with macarons since the Zumbo craze a few years back- they’re delicious, of course, but they’re also expensive and just a tad pretentious for what they are. And I was convinced that they’d be hard to make, even though I do know my way around meringue and baking in general. I wrote them off as something I’d never bother to make years ago.

For my later, I received a gift certificate from my mother in law to the Paris International Cooking School (sadly, in Sydney, not Paris, but it was still an awesome gift!), and walked out of there a few weeks later with a bunch of recipes, a full belly, and, inexplicably, a bottle of gourmet coffee flavoured syrup I’d purchased on a whim. Predictably, that syrup sat in the dark recesses of my baking cupboard for a month or so, until today, when another impulse purchase took me by surprise – a 2kg bag of almond meal.

You can see where this is going.

With all these ridiculous ingredients, guests on their way, and a healthy fear of what was to come, I had to work out the most fool-proof option for making these macarons. Thank goodness for Elaine and her recipe at The Spruce Eats,

as not only did she provide a really simple and effective base recipe that I could change up a bit, but she also talks the reader off the ledge every step of the way.

All I did differently here was add a teaspoon of cocoa to the macaron mixture, and a dash of coffee syrup to the filling. And it was perfect. Chewy, light, barely sweet, and a breeze to cook for only 110 calories a pop (if you make 12). I did, however, find that I had to keep them in the oven longer, but ovens are notoriously fickle, so I took that with a big old grain of salt.

Ingredients

3/4 cup icing sugar

3/4 cup almond meal

2  egg whites

Small pinch maldon salt flakes

1/4 cup caster sugar

1tsp cocoa

Filling:

2/3 cup butter, softened

2/3 cup icing sugar

2tsp coffee syrup

Method

Preheat the oven to 140 C. Line two baking trays with baking paper, and draw 12 circles on each of them, using a shot glass as a stencil.

Sieve the icing sugar and ground almonds into a large mixing bowl, ensuring there are no lumps – I like to whisk the end result, just to be sure.

In a separate clean bowl (I used my stand mixer here), whisk the egg whites and salt until they form soft peaks. Add the caster sugar little by little, whisking until the whites are glossy and stiff peaks form.

Gently fold in the almond mixture. Don’t worry that the meringue loses air, this is normal.

Fill a piping bag with the mixture. Don’t use the star nozzle like I did at first – you want a round, flat base here. Pipe the mixture onto the rounds, filling in the circle.

Gently bang the baking trays on the bench to release any air pockets. Leave on bench to dry out for 20 minutes.

Bake the macarons for 15 minutes, opening the door halfway through to allow any steam (and hence moisture) to escape. Remove from the oven, and allow to sit in their trays until cool. They might seem a little underdone, but will firm upon cooling.

To make the filling, cream the butter and gradually beat in the icing sugar. Add flavouring and beat a little more. Spread 1/2 tsp of filling onto the flat side of one macaron, sandwich with another, and gently twist to cement them together. Repeat with remaining cookies.


Facebooktwitterredditpinterestlinkedinmail

Mongrel Chilli

Years ago, an online acquaintance from Texas gave me her recipe for some of the best chilli I’ve ever had. I’ve since lost both the acquaintance and the recipe, and spend my days searching to recreate this amazing celebration of spiciness.

What I remember most of this unicorn of a recipe is that it had black beer, coffee, whiskey and cocoa in it. It was dark, complex, dramatic and extremely impressive It also had red kidney beans and beef, tomatoes and – rather obviously – fresh chillies, ground cayenne and a sprinkle of dried chilli flakes. It was HOT. It also made the most insanely delectable chilli dogs ever.

Over the years, I’ve tried others – some good, some great, and some downright awful. It’s become obvious that I simply had to make my own recipe based on what I could remember of T’s chilli, and the good bits of other recipes – hence the name. Here, I’ve swapped the very delicious red kidney beans for inky black beans, which changes the flavour profile quite a bit, but not for the worse. I’ve decided they’re completely interchangeable here. Perhaps half and half would be an option? I’ll have to try it one day. I also used chuck steak here, but I feel the original recipe might have called for mince. The steak, however, falls apart after 4 hours of stewing, and lets the beans shine the ingredient that holds it all together – I don’t think kidney beans could do that quite so well.

This mongrel of a recipe easily feeds 8 – and still provide leftovers. Luckily, it freezes beautifully. I served this with cabbage and potato buns, and have plans to make burritos with them next Thursday night, which is crazy night in this household. Even after this second meal, I’ll suspect we will have have leftovers (I’ve portioned my frozen chilli so that none goes to waste). It makes a lot, but we don’t really eat it by the bowlful. Those who do, will obviously not be eating quite so much frozen leftover chilli.

Ingredients

2tbs oil,

1 onion, diced

3 red chillies, finely chopped

1 jalapeno pepper, finely chopped

4 cloves garlic

2tsp ground cumin

2tsp ground coriander

1tsp dried chilli flakes

750g chuck steak, cubed

80ml whiskey

330ml stout or black beer

375g dried black beans (no need to soak)

1/2 tsp cayenne

2tsp cocoa

1 shot espresso

750ml beef stock

400g diced tinned tomatoes

2tbs maple syrup or treacle

salt and pepper, to taste

Method

  1. Preheat oven to 160C.
  2. Heat 1tbs oil in a large cast iron pot (with a tight lid) over medium heat. Reduce heat to low, and add onion, garlic and chillies. Sweat for 5 minutes, stirring occasionally, until soft and fragrant. Stir in cumin, coriander and chilli flakes.
  3.  Increase heat to medium-high, add the extra oil, tumble in the steak and stir to brown.
  4.  Add the whiskey, and when this has stopped frothing, the beer. Stir to combine.
  5. Pour in the dried black beans, then the stock, tomatoes, espresso, cayenne, cocoa and maple syrup. Give it all a good stir, season, and bring to the boil.
  6. Transfer to the oven, and cook for 4 hours, checking periodically to ensure that it hasn’t dried out. If it’s looking a little parched, top it up with a half cup or so of water, stir, and place back in the oven.


Facebooktwitterredditpinterestlinkedinmail

Pear and Pomegranate Chutney

I’ve been sick for a full week, and I’m so over taking it easy that I’m seriously considering running around the block just to take a rest from resting. But I’m slowly getting better (until I get excited, do something stupid like go to work, then end up back at square one!), so I’ve been looking for ways to entertain myself while being drowsy, disracted, and grumpy. Cookbooks to the rescue!

While I was flipping through my veritable library of Nigella Lawson cookbooks, her pear and passionfruit chutney recipe jumped out of me. I love just about any excuse to slow cook onions into jammy messes, and cooking chutneys, preserves and sauces is my jam (so to speak), and that page got post-it noted to an inch of its life. After dragging myself past the kitchen for something completely unrelated (and probably medicated), and the fruit bowl housing a couple of slightly long in the tooth buerre bosc pears, the fate of my afternoon was sealed. I was making chutney, come hell or high water.

Now, I didn’t have enough pears to follow Nigella exactly, or any demerara sugar or passionfruit whatsoever, and I got excited and added an extra onion and ginger, so this is really pretty loosely inspired by that wonderful culinary hero of mine. Not only is the colour totally different, I kept mine chunkier, too. I have no idea what Nigella’s chutney tastes like, but I can attest that it inspires a mean spin-off. I was kicking myself for my impulsiveness the whole time, assuming that I’d just wasted a bunch of ingredients, but after 45 minutes of simmering away, I was  rewarded with a dark, sticky, complex and spiced-but-not-spicy pool of deliciousness. And that’s just what it tastes like today – Nigella suggests waiting a month to really develop the flavours. A whole month – that’s cruelty!

Makes 500ml(ish). I didn’t measure it, but it perfectly fit into two small jars from Ikea that hold about a cup each.

Also, apologies for the weird amounts – I was haphazard today but did think to write down what I did!

Ingredients

2 small onions, diced

5 small buerre bosc pears, peeled and roughly chopped

1/3 cup + 1 tbs brown sugar

100g pomegranate arils  (I unashamedly used frozen)

1/3 cup white wine vinegar

2tbs minced ginger

Pepper to taste (2 or 3 good cracks should do it).

Method

  1. Combine all ingredients into a medium sized saucepan. Stir over medium-high heat until the mixture comes to a boil. Reduce heat slightly, and allow to simmer away for 40-45 minutes, stirring occasionally so that nothing catches. Remove from heat and allow to cool slightly.
  2. After 40 minutes of simmering the chutney, bring a pot of water large enough to hold your jars to a rapid boil. Carefully insert jars and lids, and boil for 10 minutes to sterilise. Very, very carefully, use a pair of tongs to remove the jars and place on a cooling rack.
  3. Ladle the chutney into the jars and seal immediately. Keep, unopened, for up to a year (hahaha) and consume within a month of opening (also, hahaha).


Facebooktwitterredditpinterestlinkedinmail

Spicy Cauliflower and Chickpea Salad

I’ve mentioned before that I’ll never make it as a vegetarian, and certainly would fail miserably as a vegan. I’d give myself until my second meal until I slipped up on something minor (like the time I put sprinkles on vegan cupcakes for a vegan family member – luckily, I caught myself just in time to decorate the second half with berries), and just give up altogether.

In saying that, I’m playing around with vegetarian lunches a lot – not for any real ethical or health benefits (although I do recognise that there are both, and the hipster hiding inside me tempts to say that’s the case!), but because there are so many delicious options. I still don’t see myself giving up animal products for more than a few hours, but I’m REALLY digging meat free meals more and more these days.

I’ve had Nigella Lawson’s book Simply Nigella since it came out. I’m not sure if I’m the only one who does this, but when I get a new cookbook, I read it cover to cover, then attack it with post-it notes to indicate what recipes I want to cook, and ideas on how to make them my own. Yes, I’m a little crazy, and it’s hereditary, because even at 7 years old, my daughter does the same thing. How Nigella’s recipe for warm spiced cauliflower and chickpea salad with pomegranate seeds wasn’t instantly post-it-ed is a mystery, but the page flicked over while I was looking for her chilli recipe for later in the week, and I haven’t been able to think of anything else since.

As always, I’ve made the recipe a little more calorie-conscious, and to suit my taste preferences. I also skipped some olive oil, because 3 tablespoons was it was just too much – I like extra virgin olive oil as much as the next foodie, but I have my limits, both for taste and caloric intake. I also switched the parsley that Nigella recommends for my beloved baby spinach, and used sambal oelek instead of harissa. The results were phenomenal, and I’m so looking forward to leftovers for lunch tomorrow!

Serves 2-3, at 312 calories for a third.

Ingredients

1 small head of cauliflower

1tbs olive oil

1/2 tsp allspice

1tsp cumin seeds

400g can chickpeas, drained

2 tomatoes, chopped

1tbs sambal oelek

60g baby spinach

75g pomegranate arils

Method

  1. preheat oven to 220C.
  2. Cut cauliflower into medium sized florets.
  3. Combine oil and spices in a large bowl. Add cauliflower and mix to coat. Tip onto a baking tray and keep bowl aside, uncleaned. Bake cauliflower for 15 minutes.
  4. Meanwhile, add the chickpeas and tomatoes to the oily bowl, and mix to coat. Add sambal oelek and stir to combine well.
  5. When cauliflower is ready, remove tray from oven, and tip the chickpeas and tomatoes over the cauliflower. Return to oven for another 15 minutes.
  6. Lay the roasted vegetables over a bed of baby spinach. Scatter pomegranate seeds over the top and serve.
Facebooktwitterredditpinterestlinkedinmail

Amelie’s Banana Choc Chunk Cupcakes

As with most kids who like to cook, Miss 7 loves baking, and that’s where her culinary career started – helping me make cakes and muffins. It’s simple and easy, and has a fabulous reward at the end – of course kids love it! However, Miss 7 isn’t really much of a cake person (unless we’re talking chocolate cake!), but she is an attention-loving person. She’ll shamelessly admit that she loves cooking, not for the end result, but for the credit. Chefs and their egos start young, it seems!

This recipe is pretty foolproof – remove the chocolate and the bananas, and you’re left with a moist and tasty basic cupcake recipe that you can pretty much add anything too. I can’t even remember where I found that particular recipe, but for the past 15 years or so, I’ve stayed pretty loyal to the flour, butter, egg, milk and sugar ratios, because it’s never failed, and everybody seems to love it. Then, a world of toppings and additions await, and the sky’s the limit.

I have calculated that the base cake recipe has 200 calories, so with the addition of the banana and chocolate, each muffin is about 240. I hesitate to become too technical with these because after all these years, I barely measure anything anymore. I tend to just estimate the calories of whatever I add to the base and call it a day. I mean, I’m not eating them when I’m being particularly fastidious about my food intake, anyway.

Makes 18 smallish cupcakes.

Ingredients

2 large bananas, peeled and broken into large pieces

125g butter

3/4 cup raw sugar

1tsp vanilla extract

2 eggs

2 cups self raising flour

1/4 cup mik

1/2 cup chocolate buttons (we used Nestle melts), chopped coarsely. There’s no reason you can’t use choc chips, but the large, uneven chunks have a charm of their own.

Method

  1. Preheat oven to 180C and line 2 muffin pans with 18 patty cases.
  2. Beat bananas until they form a soft mush – I use my stand mixer for this. Add butter, sugar and vanilla, and beat until well combined.  The mixture will be very wet.
  3. Add eggs one at a time, beating after each addition until well combined.
  4. Sift flour into mixture and stir gently to combine.
  5. Gently fold in choc chunks.
  6. Spoon mixture into prepared pans and bake for 20 minutes, or until an insterted skewer comes out clean.
Facebooktwitterredditpinterestlinkedinmail

Deluxe Greek Salad

There’s really no other way of saying it – Summers in Sydney suck. It’s not just hot – it’s scorching, muggy and unrelenting down here in Satan’s armpit.

Not exactly the best conditions for food-spiration. Who wants to turn on the oven or stove when it’s been 40 degrees for weeks on end? But also, who wants another bloody salad?

That would be me.

There’s no such thing as too many salads. Salads are magical. However, I do feel the need to change it all up a bit. While I could eat salad five nights in a row, it cannot be the same salad. Hence all the varieties on this blog, with more to come, I can guarantee it.

I’m really rather partial to this particular salad, as it takes all of 5 minutes to make, barely uses any heat, and is hearty enough that you don’t need to serve it with bread, although nobody would fault you if you did. It’s a 250 calorie salad, 329 with the dressing. As I’m not a huge fan of salad dressings or vinaigrette, I usually skip it altogether, but I am well aware that I am an anomaly in this situation.

serves 4

Ingredients

1tsp olive oil

500g heart smart diced lamb

Salt and pepper, to taste

150g mushrooms

60g baby spinach

1 yellow capsicum, sliced

1 cucumber, sliced

250g cherry tomatoes, sliced in half

2 small beetroot, roasted (or, purchased pickled), cut into small chunks

60g feta

Dressing

1tbs olive oil

1tbs lemon juice

1 clove garlic, crushed

1/2tsp brown sugar

Method

  1. To make dressing, place ingredients in a small jug and whisk to combine.
  2. Heat oil in a frying pan. Season meat with salt and pepper. Add meat and mushrooms to pan, and stir occasionally until lamb is cooked to your liking.
  3. Combine all other ingredients except for feta together in a large bowl.
  4. Add lamb and mushrooms. Sprinkle with crumbled feta.
Facebooktwitterredditpinterestlinkedinmail

Strawberry Cheesecake Muffins

While I do take a healthy diet and lifestyle very, very seriously, I’ve long said that the secret to my success is that I haven’t cut anything out, I’ve just cut it down.  Sugar, fat, carbs, white food, alcohol, bagels, cake – you name it, I’ve almost certainly eaten it since starting  my fitness journey nearly 18 months ago. It’s all about balance, and making sensible choices in terms of portion size and what else you eat that day. Conscious, mindful eating. That’s my boring trick.

Today, I was expecting anywhere between 1 and 12 people in my house today, with no idea what time anyone would be over. I wanted something delicious, fun to make, and flexible to cook/store, that my kids and I could bake in the middle of a heatwave. These muffins were just the ticket. Part muffin, part cheesecake, and 100% delicious, we had as much fun making them as we did eating them. And when only 2 people ended up dropping by, I simply froze the extra (non-frosted) cakes, so we now have emergency cake. PLEASE tell me I’m not the only person who feels far more comfortable in life knowing that there is emergency cake stashed in the freezer!

This recipe is very closely adpated from Taste.com.au, however, by making 20 smaller muffins instead of 12 jumbos, I cut the calories to a much more palatable 297 calories, proving once again that you can have your cake and eat it too!  They’re pretty sweet – I don’t think I could have eaten a jumbo muffin anyway – these the perfect treat size. For me, any way.It’d make a perfectly respectable whole cake, too, provided you used a rather large tin – with four eggs in there, the rise is considerable. I’d hazard a guess that the cream is pretty optional in the icing, and will skip it next time (and there will be a next time!), although it wasn’t ruining anything by being there.

Makes 20

Ingredients

muffins:

125g butter

1.5 cups caster sugar

250g cream cheese

1tsp vanilla

4 eggs

250g strawberries, diced

cheesecake frosting

150g cream cheese

1/2 cup thickened cream

3/4 icing sugar (the original recipe calls for 1/3, but I found it was too runny and tasted far too much of cream)

1/2 tsp vanilla

10 strawberries, hulled and halved


Method

  1. Preheat oven to 180°C and line muffin tins with patty pans.
  2. Beat cream cheese and butter until combined. Add sugar and beat until pale and creamy.
  3. Add eggs one at a time, and beat after each egg until fully incorporated.
  4. Add vanilla and mix.
  5. Add flour and gently combine. Fold through strawberries.
  6. Spoon mixture into cases until 2/3 full. Bake for 20 minutes.
  7. When cooked, remove pans from oven and allow cakes to cool for 10 minutes in the pans. Transfer to rack to cool completely.
  8. While muffins are baking,  combine all icing ingredients and beat thoroughly until thick and fully incorporated. Rest in fridge until ready to use.
  9. When muffins are cool, pipe or spread the icing over the muffin and top with a slice of strawberry. (my kids ate the strawberries on me while I was still using them – any other berry works just as well!)


Facebooktwitterredditpinterestlinkedinmail